
Every startup or early-stage company comes to a point where they need to maintain and support their users. Usually, at this stage, tech leaders start building a customer success team and hire their first non-technical coworkers. Every competent back-office team needs a toolset to work efficiently. The first instrument you should think about is the admin dashboard that gives your managers the power to control the customer experience and solve their problems!
AdminJS is an admin panel precisely for this task. It lets you build a custom admin app tailored to your business logic and needs. At the end of this short tutorial, you will have a ready-to-use Node.js admin panel that you can hand off to your customer success managers!
Building your first admin panel with Node.js and React
For the sake of this tutorial, I will use the following technologies:
- AdminJS as an automated admin panel library;
- Node.js and Express as a backend service provider;
- React as a customizable frontend library;
- Postgres with Prisma as a database and ORM.
I assume you have your database set up already (if not, please follow the Prisma with Postgres tutorial here). Let’s start with a straightforward schema containing only one object User. Later we will add other resources.
model User {
  id      Int      @id @default(autoincrement())
  email   String   @unique
  name    String?
}
Setting up AdminJS
We’ll begin with the admin panel. The first step is to install AdminJS with Express plugin and Prisma adapter:
yarn add adminjs @adminjs/express @adminjs/prisma
You will need to add a couple more libraries to use Express as an admin app backend:
yarn add express tslib express-formidable express-session
One more step before we start coding. We need to add TypeScript and Express types to our project as a dev dependency:
yarn add -D @types/express ts-node
Now, let’s build our first admin dashboard. Create an app.ts file in the root directory of your project. Then initialize the AdminJS panel with the following code:
import AdminJS from 'adminjs'
import AdminJSExpress from '@adminjs/express'
import express from 'express'

const PORT = 3000

const start = async () => {
  const app = express()
  const admin = new AdminJS({})
  const adminRouter = AdminJSExpress.buildRouter(admin)
  app.use(admin.options.rootPath, adminRouter)
  app.listen(PORT, () => {
    console.log(`AdminJS started on http://localhost:${PORT}${admin.options.rootPath}`)
  })
}
start()
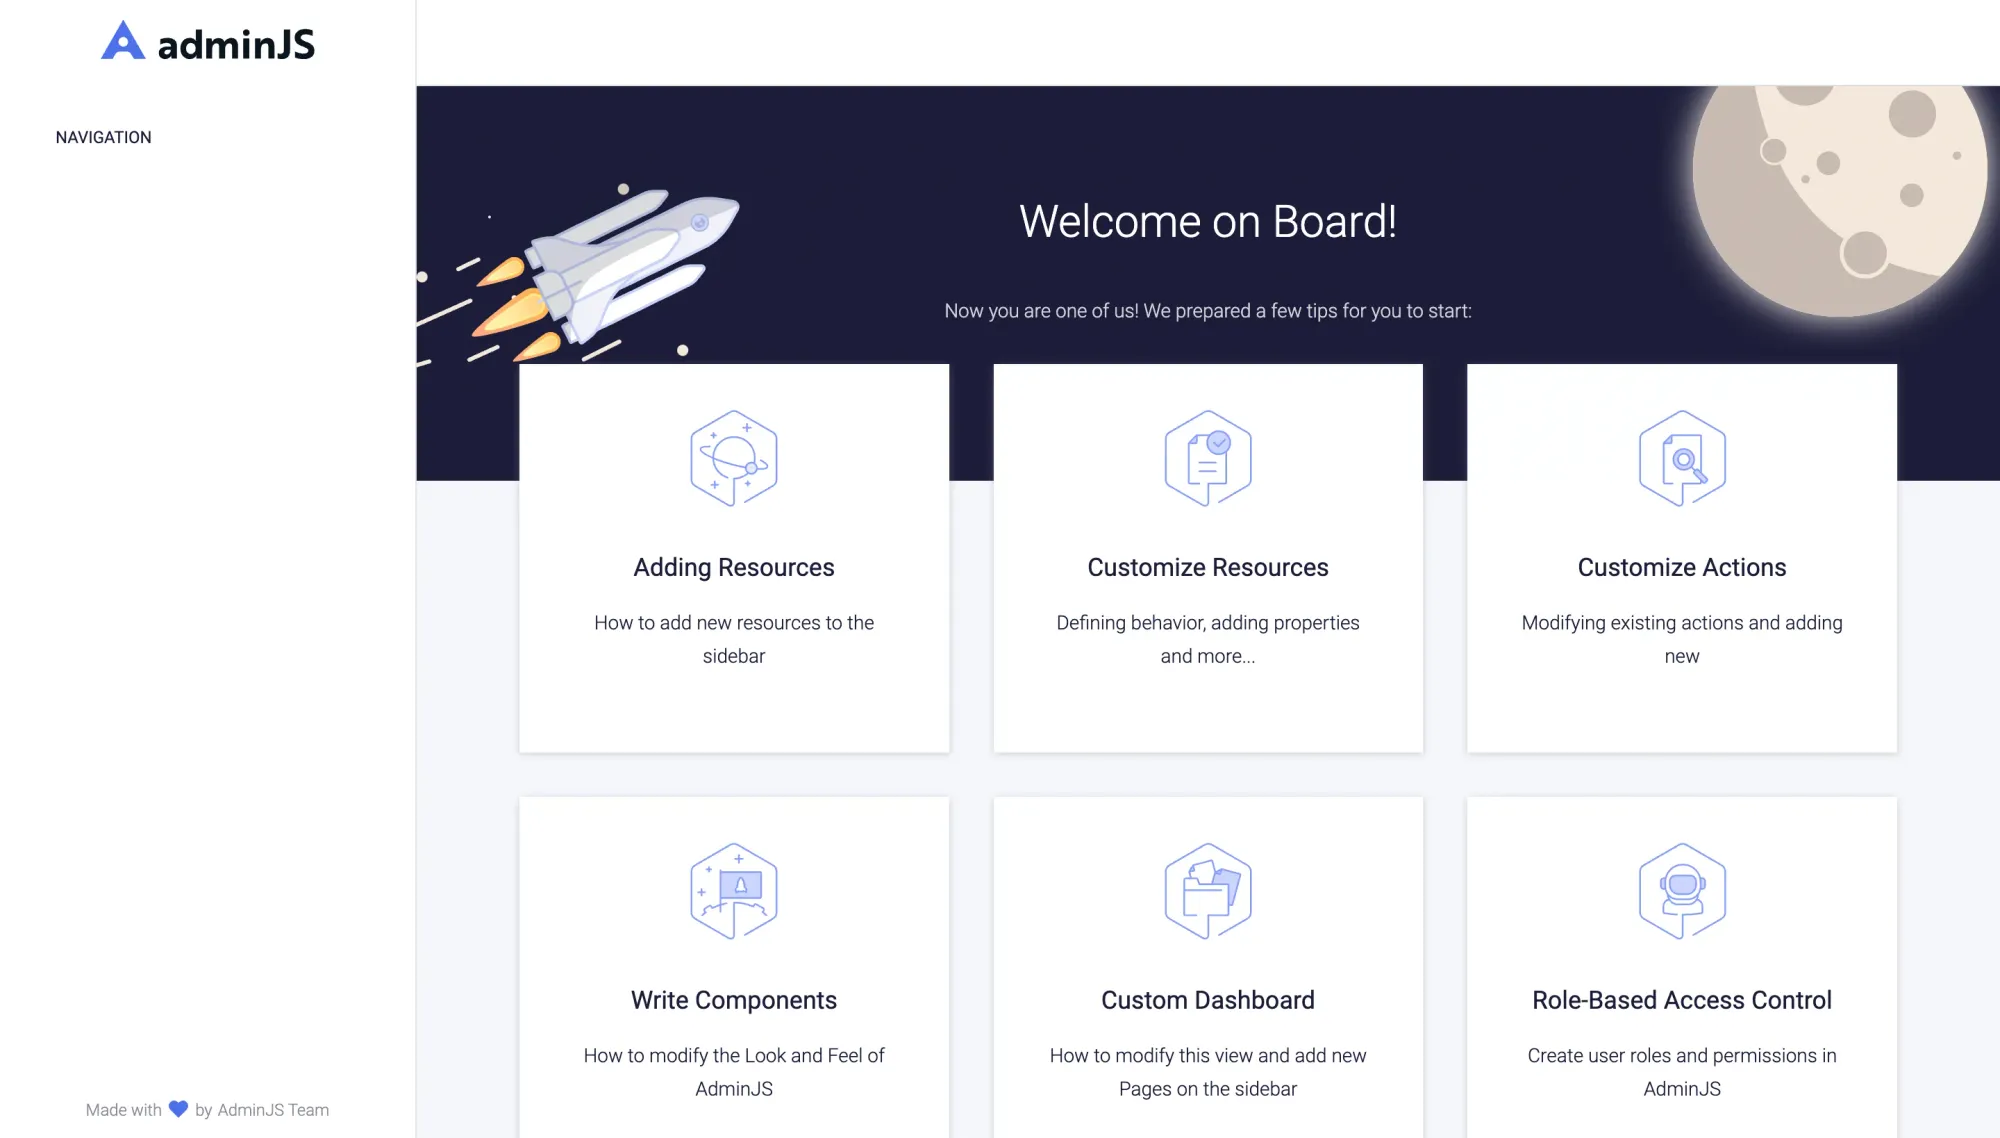
These twenty lines of code create the Express app, then uses it as a router for AdminJS and start the application. Run this piece of code with the ts-node app.ts command. Then visit the http://localhost:3000/admin link. You should see an empty panel:
Connecting your database to AdminJS
It’s high time to connect the database. Let’s start with imports. We will use PrismaClient and AdminJSPrisma adapter. Additionally, you’ll need to add DMMFClass from Prisma runtime to access the schema we prepared earlier. Please add the following imports at the top of your app.ts file:
import * as AdminJSPrisma from '@adminjs/prisma'
import { PrismaClient } from '@prisma/client'
import { DMMFClass } from '@prisma/client/runtime'
Next, you want to initialize the Prisma client and register the adapter. The following code should do the work:
const prisma = new PrismaClient()

AdminJS.registerAdapter({
  Resource: AdminJSPrisma.Resource,
  Database: AdminJSPrisma.Database,
})
We need to access the necessary Model metadata and pass it to AdminJS in a JSON format. This snippet shows how to do it:
const dmmf = ((prisma as any)._baseDmmf as DMMFClass)
  const adminOptions = {
    resources: [{
      resource: { model: dmmf.modelMap.User, client: prisma },
      options: {},
    }],
  }

const admin = new AdminJS(adminOptions)
At this moment, your app.ts file should look like this:
import AdminJS from 'adminjs'
import AdminJSExpress from '@adminjs/express'
import express from 'express'
import * as AdminJSPrisma from '@adminjs/prisma'
import { PrismaClient } from '@prisma/client'
import { DMMFClass } from '@prisma/client/runtime'
const prisma = new PrismaClient()
AdminJS.registerAdapter({
Resource: AdminJSPrisma.Resource,
Database: AdminJSPrisma.Database,
})
const PORT = 3000
const start = async () => {
const app = express()
const dmmf = ((prisma as any)._baseDmmf as DMMFClass)
const adminOptions = {
resources: [{
resource: { model: dmmf.modelMap.User, client: prisma },
options: {},
}],
}
const admin = new AdminJS(adminOptions)
const adminRouter = AdminJSExpress.buildRouter(admin)
app.use(admin.options.rootPath, adminRouter)
app.listen(PORT, () => {
console.log(`AdminJS started on http://localhost:${PORT}${admin.options.rootPath}`)
})
}
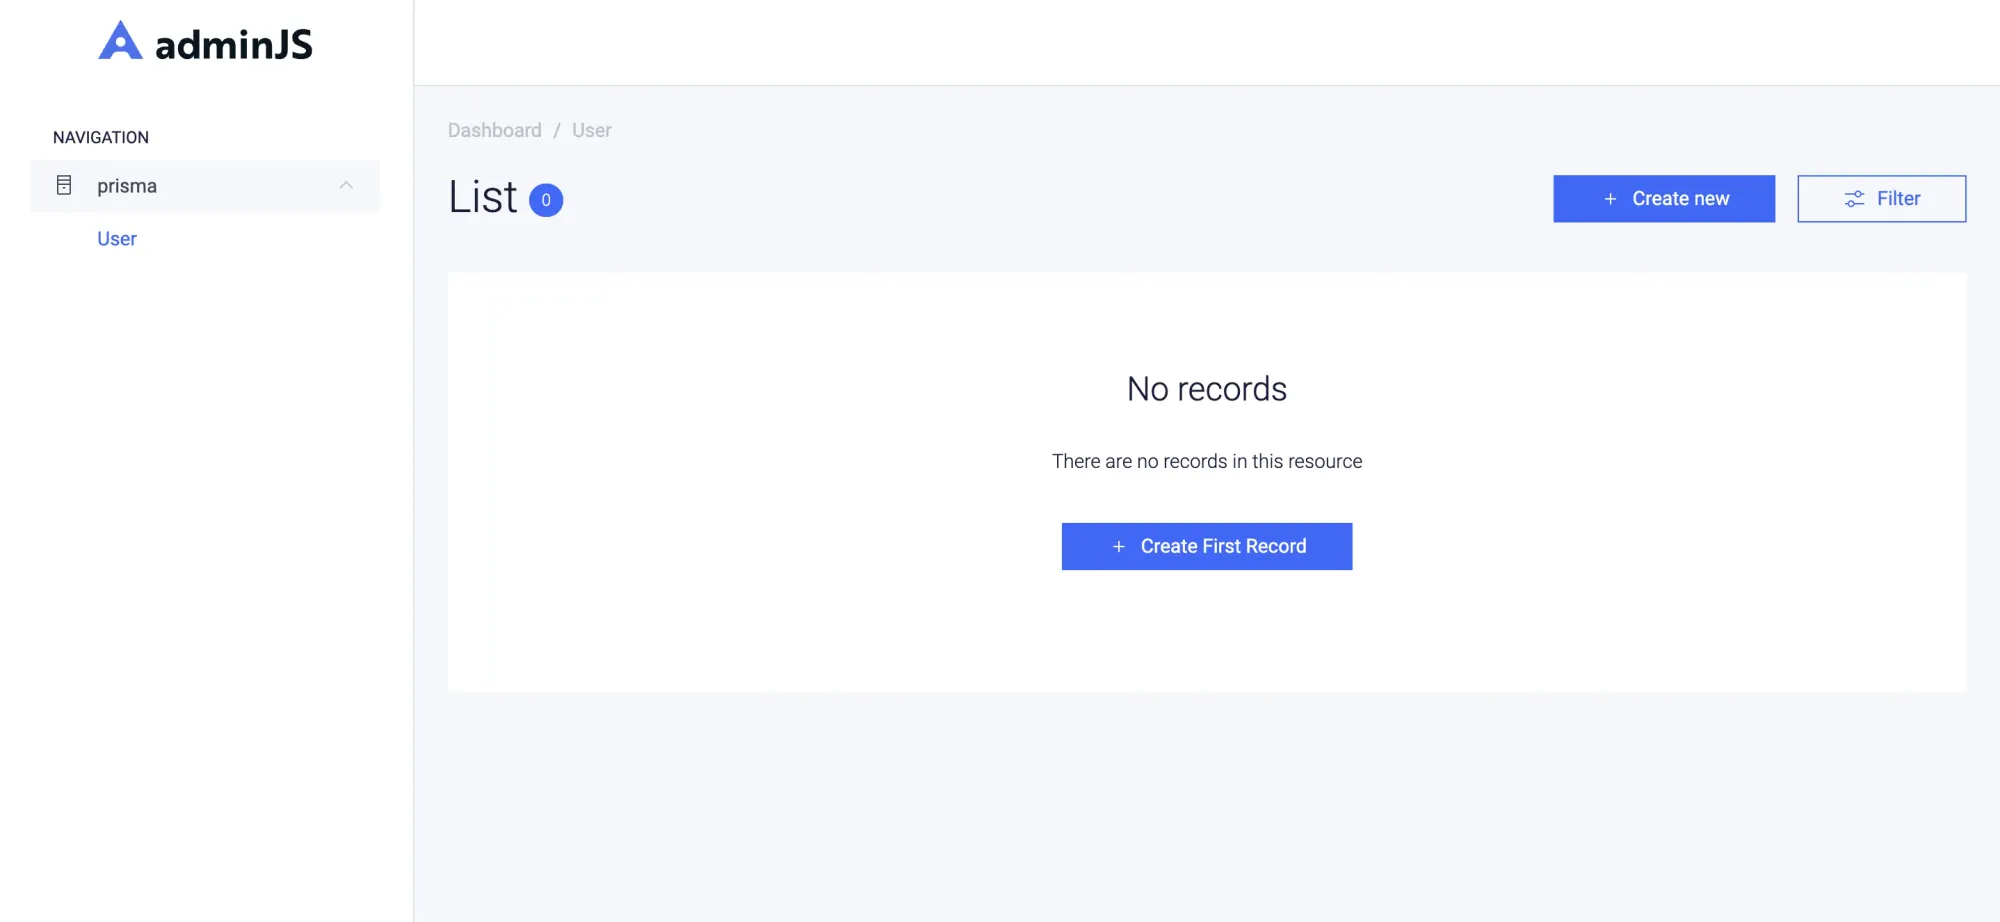
start()Running this code should give you the admin panel with a single User resource. Your dashboard should look like this:
Adding authentication to AdminJS
Authentication is a must-have in any admin dashboard. Fortunately, AdminJS has built-in features for that. However, to add role-based access control to our web application, we will need to alter the database by adding the password property to our User. To do so, change your User model in prisma.schema file in the following way:
model User {
  id        Int      @id @default(autoincrement())
  email     String   @unique
  name      String?
  password  String
}
Now we need to run Prisma migration using this command:
yarn prisma migrate dev --name password
At this stage, we have plaintext passwords saved in the database. So let’s make our admin dashboard more secure! For this, we will use the AdminJS password feature. To do so, we need to add a couple of libraries to our project:
yarn add @adminjs/passwords argon2Then we need to alter our app.ts a bit. AdminJS uses options configuration to inject features. For example, to use the passwords feature, you have to register it in adminOptions JSON:
//...

const adminOptions = {
    resources: [{
      resource: { model: dmmf.modelMap.User, client: prisma },
      options: {
        properties: { password: { isVisible: false } },
      },
      features: [
        passwordsFeature({
          properties: {
            encryptedPassword: 'password',
            password: 'newPassword'
          },
          hash: argon2.hash,
      })]
    }],
  }

//...
Now user passwords are hashed and, in this obfuscated form, saved in the database. We are only one step away from making our admin dashboard secure. We need to use an authenticated router to hide the whole web application behind the login page. First, we will add a session store to our application. Run the following commands to add the express-session library to your project:
yarn add connect-pg-simple
yarn add -D @types/connect-pg-simple @types/express-session @types/express ts-node
Then initialize the session store in your start() function with the following snippet:
//...

const ConnectSession = Connect(session)
  const sessionStore = new ConnectSession({
    conObject: {
      connectionString: process.env.DATABASE_URL,
      ssl: process.env.NODE_ENV === 'production',
    },
    tableName: 'session',
    createTableIfMissing: true,
  })

//...
Now, we need to implement the authentication function. We will check if the password hash matches the one saved in the database. Here is the code:
const authenticate = async (email: string, password: string) => {
  const user = await prisma.user.findFirst({
    where:{
      email: email
    }
  })

  if (user && await argon2.verify(user.password, password)) {
    return Promise.resolve(user)
  }
  return null
}
The last thing connecting all the dots is AdminJS authenticated router. You should replace your normal AdminJSExpress router initialization with the following code:
///....

const adminRouter = AdminJSExpress.buildAuthenticatedRouter(
    admin,
    {
      authenticate,
      cookieName: 'adminjs',
      cookiePassword: 'sessionsecret',
    },
    null,
    {
      store: sessionStore,
      resave: true,
      saveUninitialized: true,
      secret: 'sessionsecret',
      cookie: {
        httpOnly: process.env.NODE_ENV === 'production',
        secure: process.env.NODE_ENV === 'production',
      },
      name: 'adminjs',
    }
  )

//...
Your app.ts file at this point should look as follows:
import AdminJS from 'adminjs'
import AdminJSExpress from '@adminjs/express'
import express from 'express'
import * as AdminJSPrisma from '@adminjs/prisma'
import { PrismaClient } from '@prisma/client'
import { DMMFClass } from '@prisma/client/runtime'
import passwordsFeature from '@adminjs/passwords';
import argon2 from 'argon2';
import Connect from 'connect-pg-simple'
import session from 'express-session'
const prisma = new PrismaClient()
AdminJS.registerAdapter({
Resource: AdminJSPrisma.Resource,
Database: AdminJSPrisma.Database,
})
const PORT = 3000
const authenticate = async (email: string, password: string) => {
const user = await prisma.user.findFirst({
where:{
email: email
}
})
if (user && await argon2.verify(user.password, password)) {
return Promise.resolve(user)
}
return null
}
const start = async () => {
const app = express()
const ConnectSession = Connect(session)
const sessionStore = new ConnectSession({
conObject: {
connectionString: process.env.DATABASE_URL,
ssl: process.env.NODE_ENV === 'production',
},
tableName: 'session',
createTableIfMissing: true,
})
const dmmf = ((prisma as any)._baseDmmf as DMMFClass)
const adminOptions = {
resources: [{
resource: { model: dmmf.modelMap.User, client: prisma },
options: {
properties: { password: { isVisible: false } },
},
features: [
passwordsFeature({
properties: {
encryptedPassword: 'password',
password: 'newPassword'
},
hash: argon2.hash,
})]
}],
}
const admin = new AdminJS(adminOptions)
const adminRouter = AdminJSExpress.buildAuthenticatedRouter(admin,
{
authenticate,
cookieName: 'adminjs',
cookiePassword: 'sessionsecret',
},
null,
{
store: sessionStore,
resave: true,
saveUninitialized: true,
secret: 'sessionsecret',
cookie: {
httpOnly: process.env.NODE_ENV === 'production',
secure: process.env.NODE_ENV === 'production',
},
name: 'adminjs',
}
)
app.use(admin.options.rootPath, adminRouter)
app.listen(PORT, () => {
console.log(`AdminJS started on http://localhost:${PORT}${admin.options.rootPath}`)
})
}
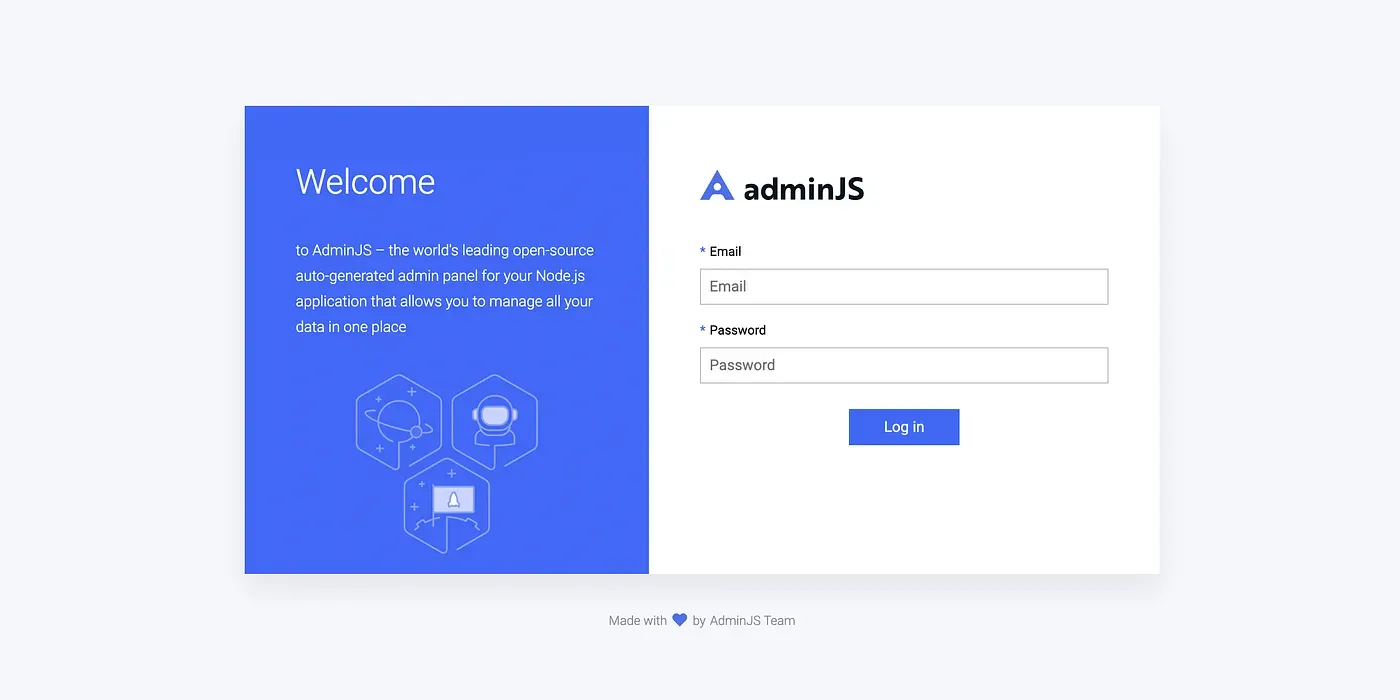
start()After running this code, you should see the default AdminJS login page that restricts not logged-in users from accessing the confidential data in your admin dashboard.
AdminJS UI customization with React
Since we already have our own admin panel, we want to customize it! Our goal would be to change the look and feel of your admin dashboard using React.
Overriding AdminJS logo
The first and most obvious thing to change is the logo. The only thing you have to do is change the branding configuration in your AdminOptions. To do so, create a /public folder in your project and put a file with your logo. Then you’ll need to register your public folder with the Express router by adding the following line to your start function:
app.use(express.static(path.join(__dirname, "/public")));
Now, you should add branding configuration to your AdminOptions JSON:
branding: {
    logo: '/custom_logo.png',
}
After this step, your configuration should look as follows:
const adminOptions = {
    resources: [{
      resource: { model: dmmf.modelMap.User, client: prisma },
      options: {
        properties: { password: { isVisible: false } },
      },
      features: [
        passwordsFeature({
          properties: {
            encryptedPassword: 'password',
            password: 'newPassword'
          },
          hash: argon2.hash,
      })]
    }],
    branding: {
        logo: '/custom_logo.png',
    },
  }
When you run the code, you will notice that your custom logo replaced the default AdminJS logo.

Customizing admin dashboard with custom React component
Your control panel is almost ready. The last thing left is adjusting the user interface elements and replacing them with custom React components.
The simplest way to alter the admin template is to change the CSS styling. There is a detailed tutorial in AdminJS documentation on how to do it. However, replacing the whole React component is the only option when more than a simple change in dashboard template styling is needed. Therefore, for the sake of this tutorial, We will replace the most significant component in the whole React app, the dashboard itself.
Prepare React ADMIN template
Let’s use the MUI album template as our new dashboard. To use the new admin dashboard template in our project, you will first need to add Material UI packages using the following command:
yarn add @mui/material @emotion/react @emotion/styled @mui/icons-material
Then you should create /components directory and copy Album.tsx file to your project.
Inject React dashboard template to AdminJS
At this moment, we have to tell AdminJS to use our new dashboard component. You do it the same way you would with any custom UI component in AdminJS — using ComponentLoader class. First, we need to import ComponentLoader class and initialize it:
import {ComponentLoader} from 'adminjs'
...
const componentLoader = new ComponentLoader()
Then you have to tell AdminJS where to look for your new React dashboard template by adding your new Material UI component to ComponentLoader:
const Components = {
  CustomDashboard: componentLoader.add('CustomDashboard', './components/dashboard'),
}
The last thing to do is to change the adminOptions configuration in a way that bundler knows where to use your new dashboard template:
const adminOptions = {
    ...
    dashboard: {
      component: Components.CustomDashboard,
    },
    componentLoader
  }
Now, run the application. Your dashboard should look as follows:

Further steps
In this tutorial, I presented how to build your first authenticated admin panel and customize it to your needs. However, AdminJS is a mighty library for building admin applications. You can customize almost everything, from the dashboard theme to creating custom actions and data handlers. For further customization, please follow the AdminJS documentation.
If you want to deploy your panel and give it to your users, consider doing so via AdminJS Cloud. It’s a tailored-made cloud solution for building Node.js admin panels. Please review the deployment documentation and contact us through our Slack community if you have any further questions!
